Building an aquatint box
So, I have been “making do” in the aquatint area for a while. I always planned on making an aquatint box to fit into a space in my “Awesome Table” for quite some time. and this weekend I finally got around to doing it. I thought I would take pictures along the way for a few reasons; 1: because pictures are fun 2: because someone out there might also need to build a box and might like some help that such photos could provide 3: for the future AP archives of awesome.
OH! also for those who do not know what an aquatint box is… Basically when etching there is a process called aquatint - which is a really bad name but whatever. The point is to create a consistent (or mottled) dusting of coverage on the plate of a substance (mainly a rosin) which is then melted and creates a dense series of dots millions of dots that protect the plate from the mordant. See you cannot just etch the plate and expect it to hold ink - it needs to have grooves and unetched areas (even infinitely small) to actually hold the ink.. the alternative is called an “open bite” which is a whole other thing. SO say I had a plate i did a hard ground on and etched some linework into it.. if I wanted then to make a section of the illustration absolutely black.. or a mid tone - or even add a mottled texture.. well my best bet is to aquatint it. So in order to get this coverage of rosin on the plate super fine and consistent. you can make a pouch and slap it in your hands over the plate (it does not really work well.. the rosin is the consistency of powdered sugar and makes a huge mess and is really hard to get consistent) or you can make a box like this and install a fan and a method of setting the rosin over the fan - then you can create a STORM OF ROSIN within the box. then you set your plate in through a narrow door and let it sit in there while all the rosin dust settles and VOILA!! you are ready to put it in an aquatint oven or set it on your hotplate to get set.
and that my friends is the worse/most confusing explanation of aquatint EVER.
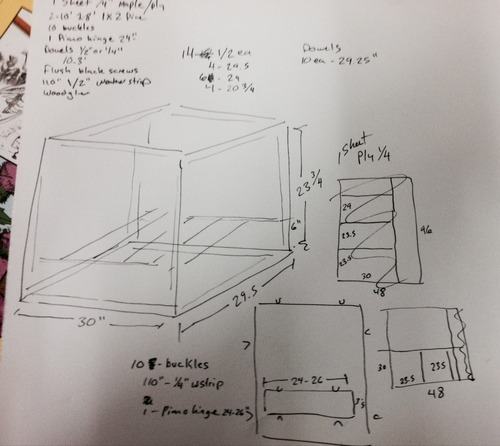
SO first thing Saturday morning i grabbed a sheet of paper and a tape measure and jotted down all the dimensions and rough plan. I always do this for building. It is not really orderly nor does it make much sense but helps me sort out supplies needed and the like.
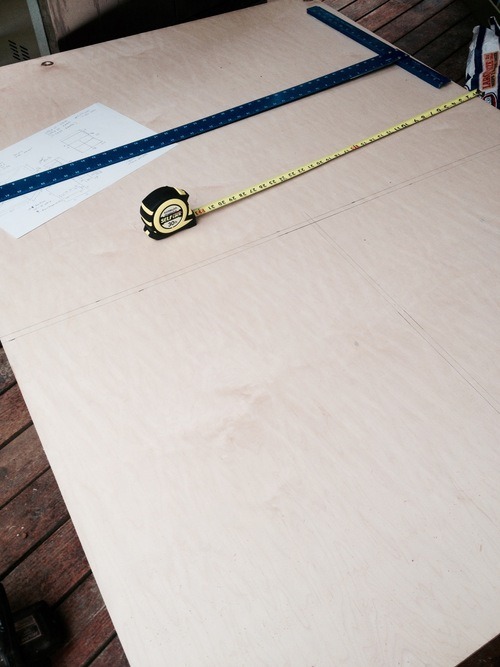
I used a single sheet of maple hardwood ply and poplar sticks. but you can use whatever materials you want.
I have no idea why i took this photo
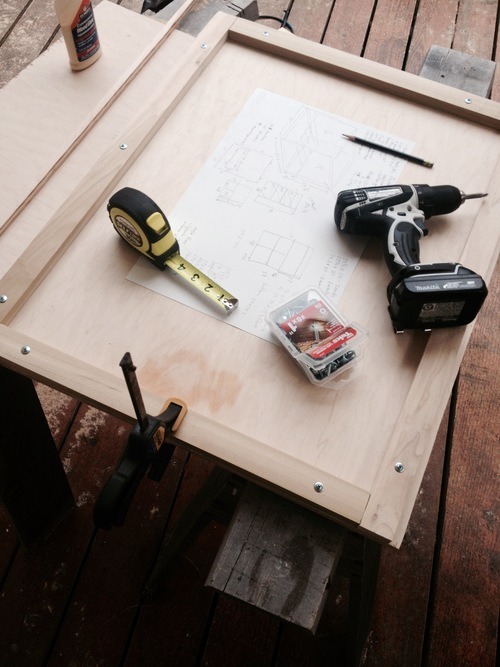
I glued and screwed everything to make sure it was SEALED TIGHT. do not want rogue rosin drifting into my studio (well… want to keep it to a minimum at least)
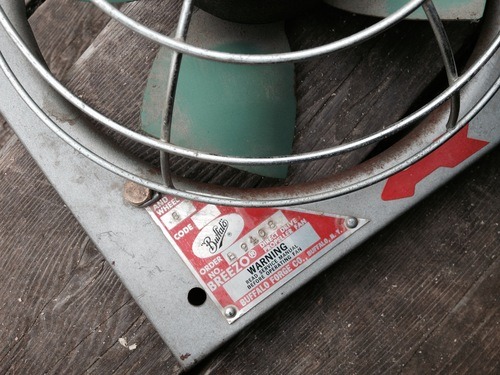
I had this sweet little fan in my storage for many years just waiting for a reason to be used. I think a small box fan would work as well - just some kind of blowing device.
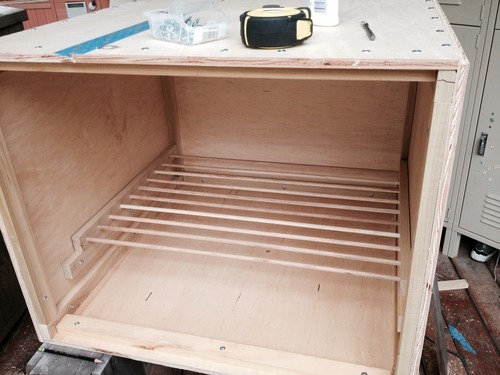
I made that sliding rack out of dowels and poplar and it works pretty good. removable and adjustable. that is what the plate will rest on - and the fan sits under it. rocket science.
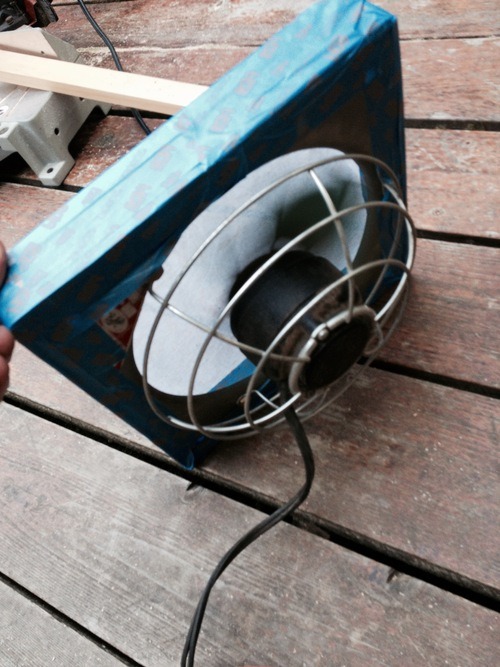
I made a cardboard ridge around the fan then wrapped some spare tarlatan over the top - it works pretty good at diffusing the airflow and giving me a place to dump the powdered rosin. this is an action shot of the fan blowing.
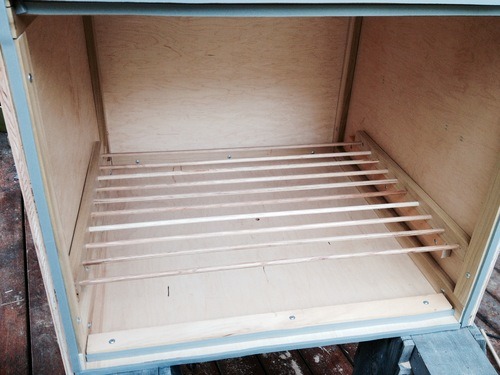
I put half inch weather stripping all around the front access of the box - again trying to keep it sealed up tight. NOTE: see the fan goes IN THE BOX - one would not want to vent a fan that was outside of the box. that would be a bad idea because then it wouldn’t be an enclosed circulating system of air and rosin. also it would need a way for the air to escape since the fan would be pumping fresh air in. does that make sense? Just make sure not to plan on your fan being anywhere but in the box.
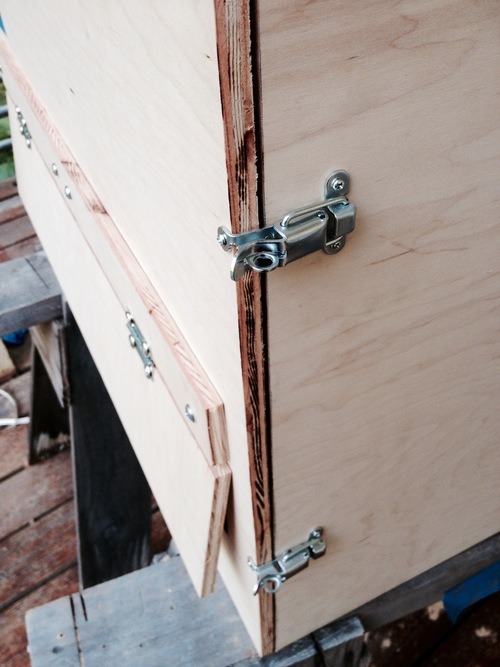
I used these sweet buckles to attach the front. this keeps it sealed and makes it easy to remove the front to clean the rosin out. (which needs to be done after every use) you can see my narrow plate access door there.. the front of the box is probably the most spectacular.
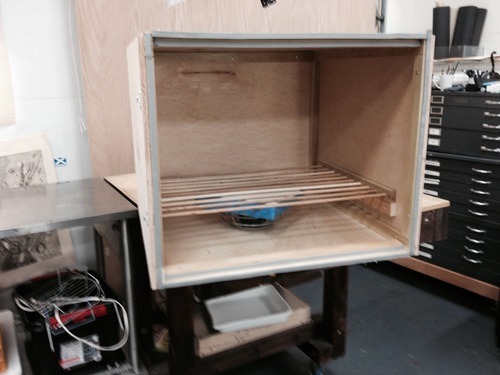
here is my completed box sitting on top of Awesome table. it is quite large really… the bigger the better. well actually the more height the better and my box could be taller.. but i am locked into the space I have. you can see the fan in there. I drilled a hole in the bottom and fed the cord through. then sealed up around the hole.
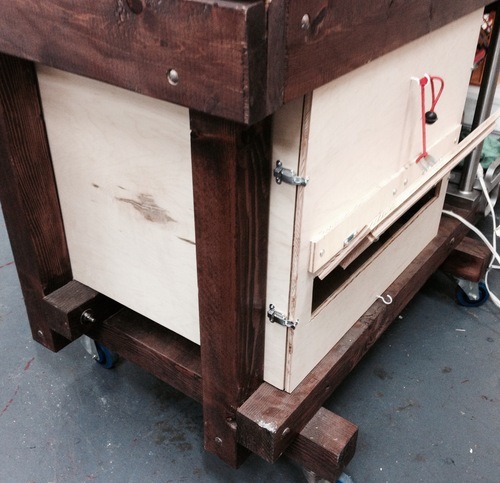
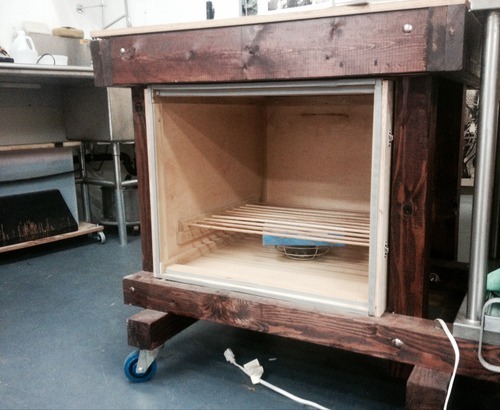
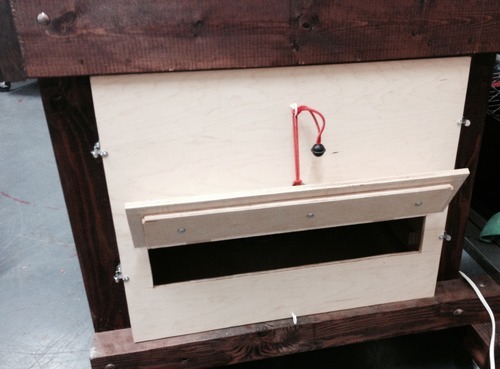
And here is the box in it’s forever home snugly fit into Awesome table. I really should have double checked my measurements because i thought I had a quarter inch to spare and i ended up with a 16th… very close to not fitting… otherwise known as fitting PERFECTLY.
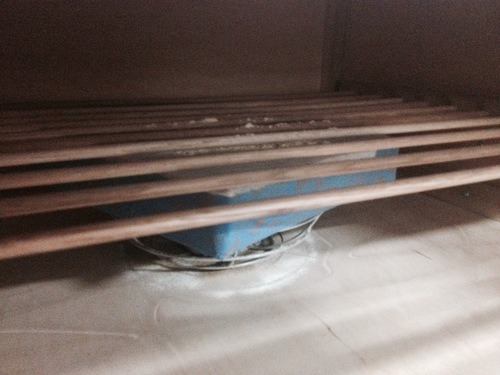
and here is a shot looking through the access door of the rosin on the fan during some tests. this picture is totally useless.
All in all the box took me ten hours to make - all in a saturday. you might say “shit Joe, that’s a long time to build a box?!”… but I was also drinking fireball and petting my dog the whole time so don’t judge me..
So there you go, this concludes the Aquatint Box chapter of Antiquated Press’s studio stuff posts with the mosts.

