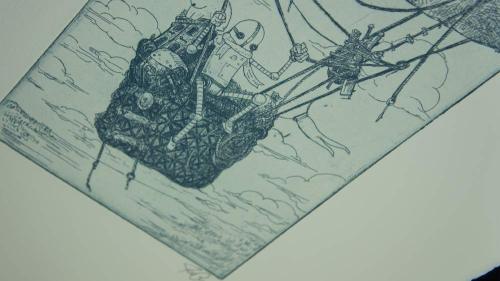
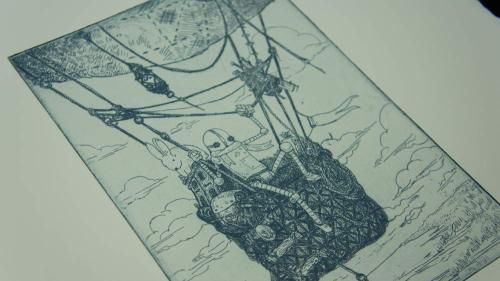
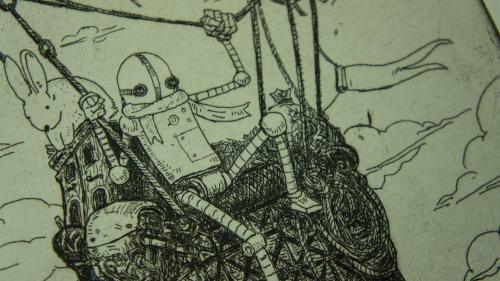
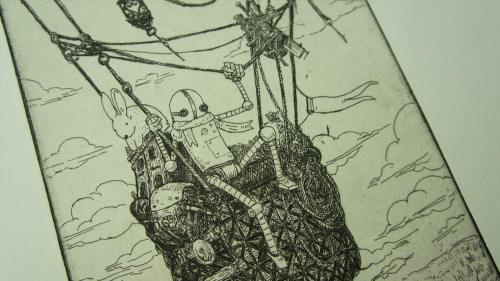
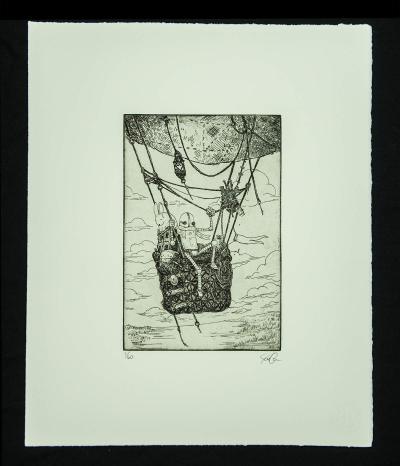
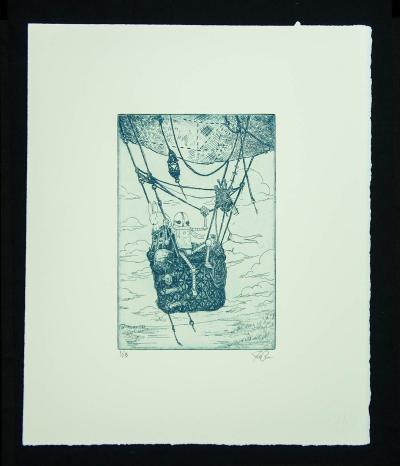
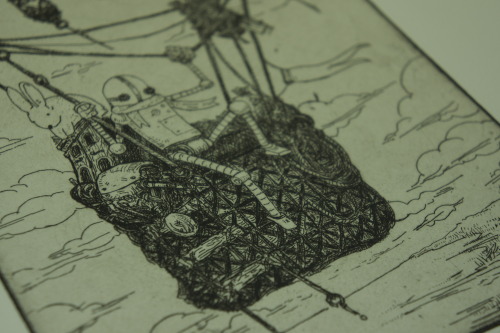
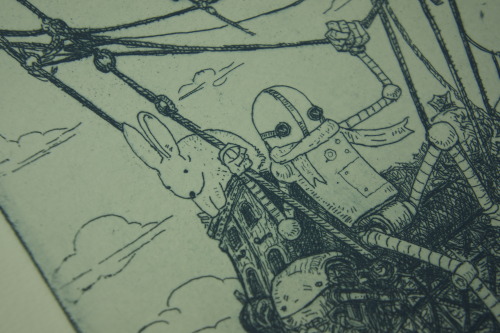
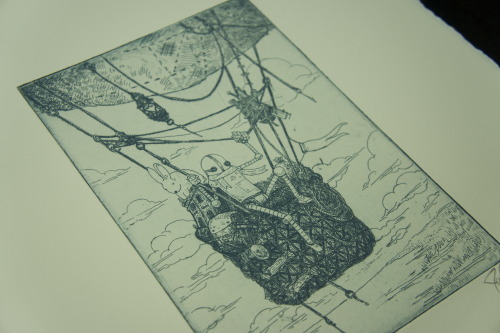
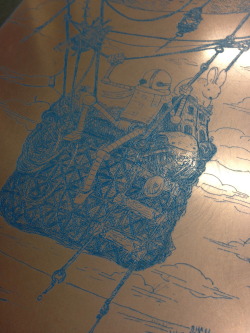
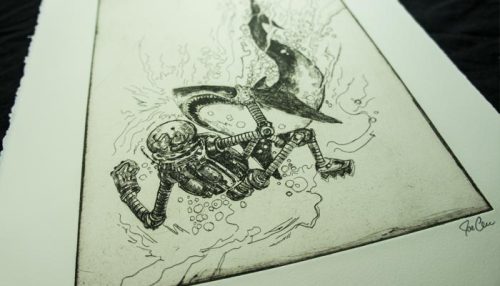
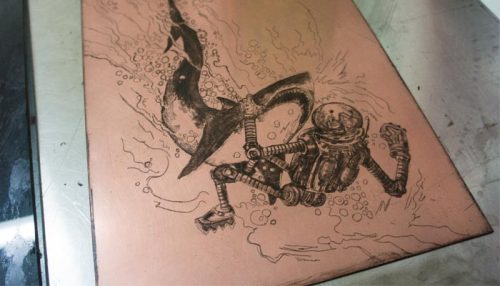
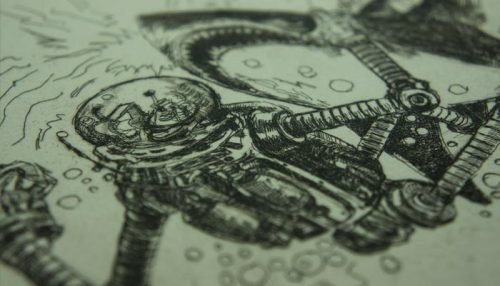
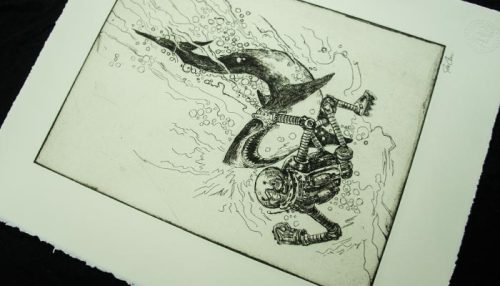
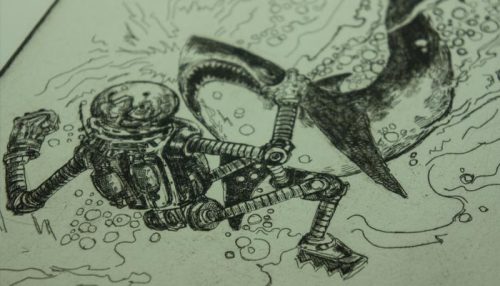
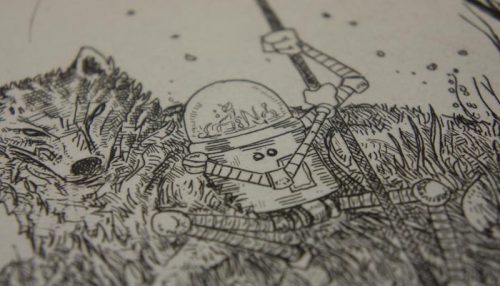
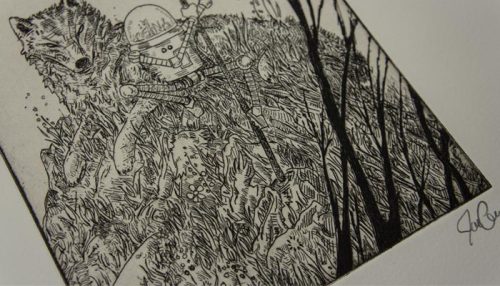
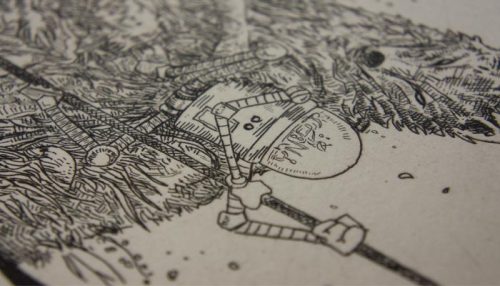
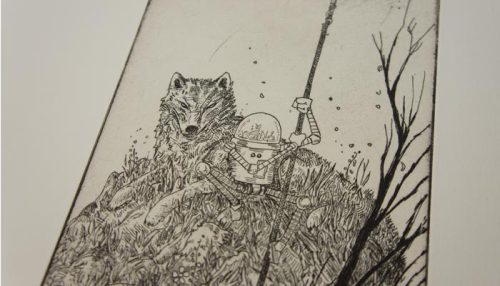
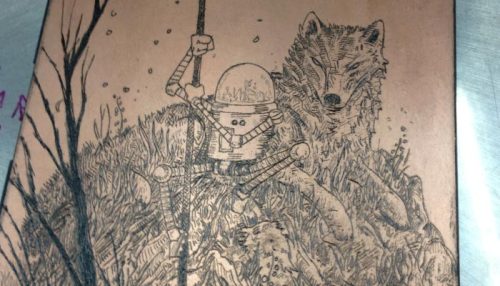
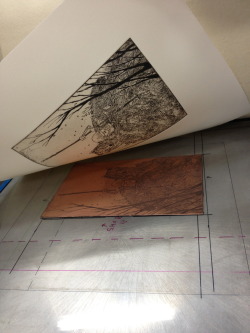
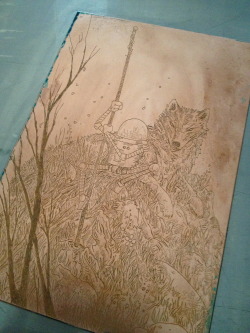
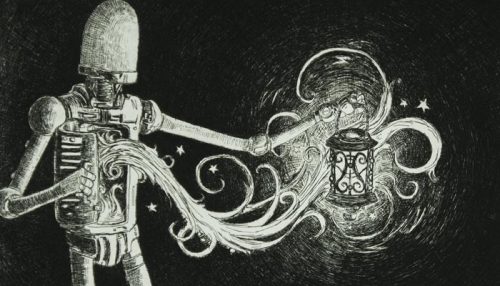
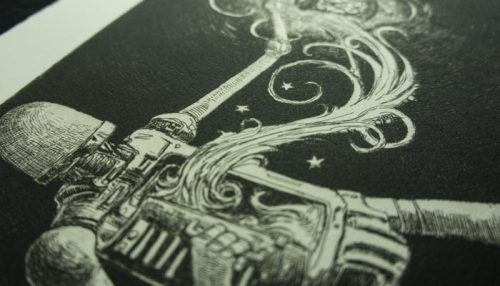
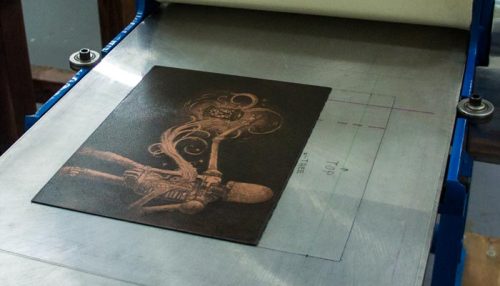
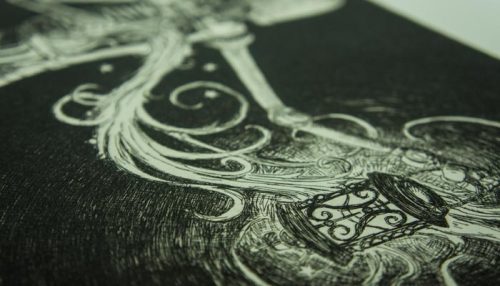
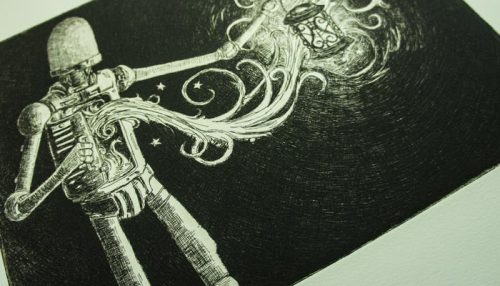
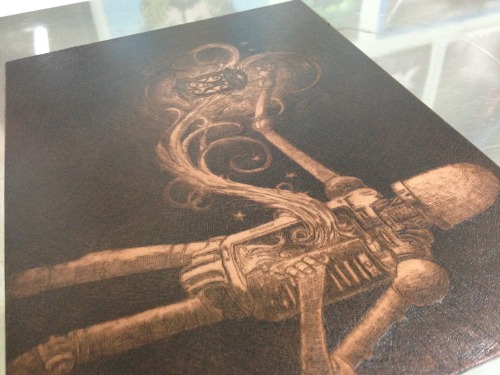
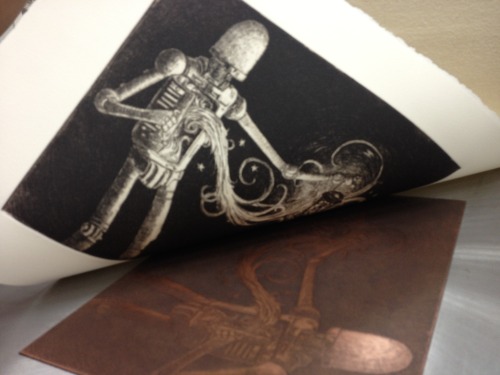
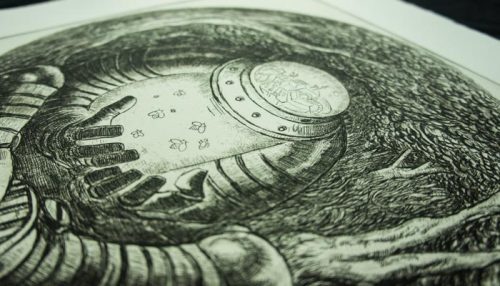
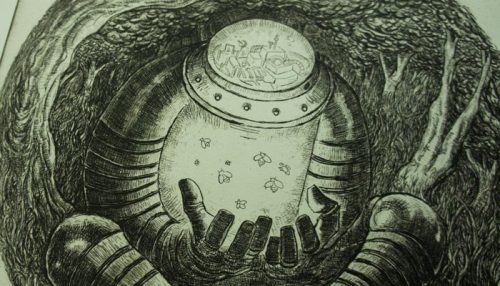
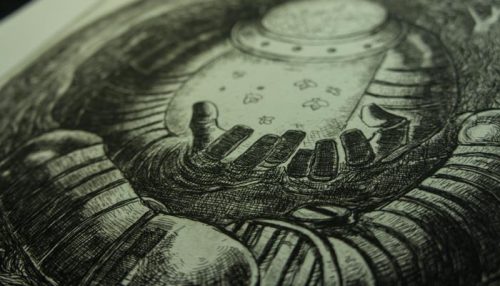
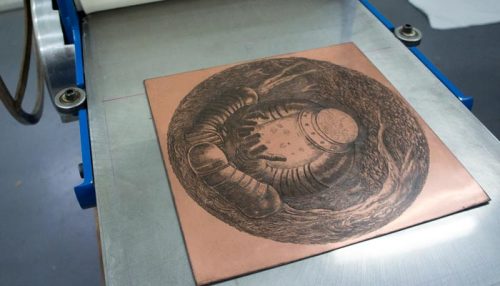
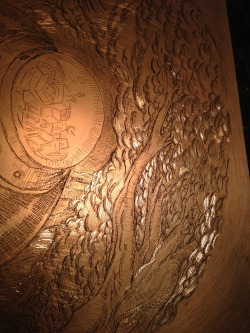
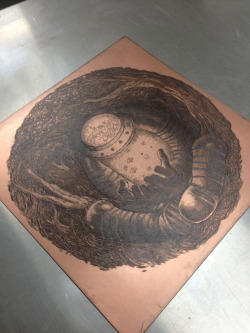
Detail images of Balloon Etching from release two clockworks series
Antiquated Press Journal
Boat Etching From Release two of Clockworks Series - Available at
http://www.antiquatedpress.com/Editions/index.php
by Joe Carr

Variant edition of Balloon printed with cerulean blue ink
edition of 13

Clockworks Release two

Printing for release two. Packing and shipping orders from release one. Cold drink. It’s good.
(Letterpress card compliments of Lil Joe)
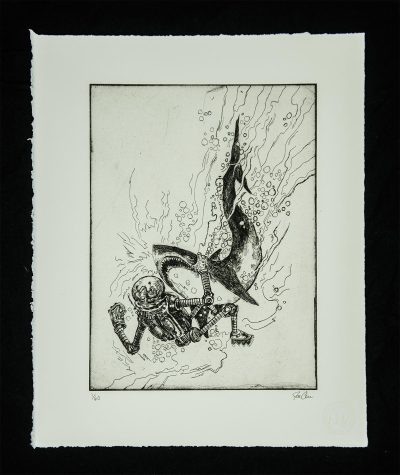
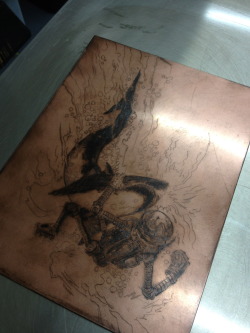
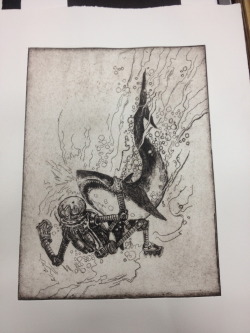
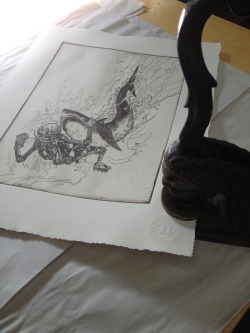
Shark Etching From Release one of Clockworks Series - Available athttp://www.antiquatedpress.com/Editions/index.php
by Joe Carr
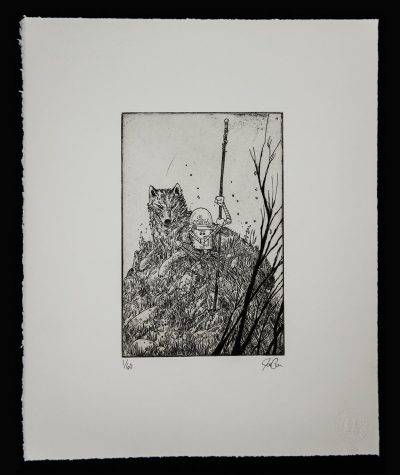
Wolf II Etching From Release one of Clockworks Series - Available at http://www.antiquatedpress.com/Editions/index.php
by Joe Carr
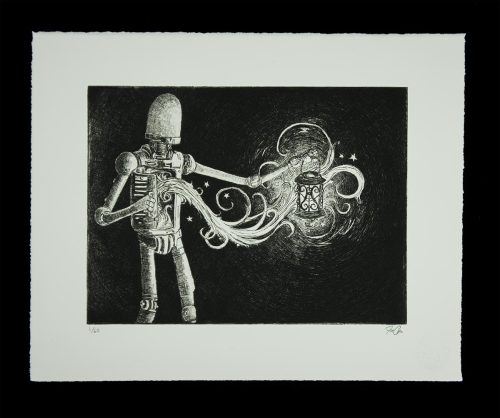
Lantern Etching From Release one of Clockworks Series - Available at http://www.antiquatedpress.com/Editions/index.php
by Joe Carr
Fireflies Etching From Release one of Clockworks Series - Available at http://www.antiquatedpress.com/Editions/index.php
by Joe Carr
Drying / Flattening Prints
When making intaglio prints - one has to soak the paper in water so it is soft, pliable and able to endure the pressure of the press and conform properly to the plate. It takes a couple days prep to get the paper “put down” just right. After pulling the prints they dry in a couple days but they are all wonky and wrinkled and need to be flattened.
There are a number of ways to flatten prints - At AP we built a drying system patterned after Crown Point Press’s drying system (check it out here)
Our drying table is smaller - and since space is a premium in the studio - it uses our versatile super table (I will one day give a full run down of all the super tables excellent features and facets, this post is just about drying)
So - if you know about Crown Point’s table you’ll notice very minor differences. Instead of plywood, we used MDF - since our drying system is built in a 2'X4’ area we are able to use standard sized blotters and most of the corrugated cardboard we got from hot tub boxes (a great source for large unmarred cardboard)
in these photos I only have 5 layers: the way they are stacked goes - Cardboard, Blotter, newsprint, prints, newsprint, blotter, cardboard - then the cycle repeats. It can hold 30 layers easily with 2 prints per layer that works out to 60 prints. The system dries and flattens the prints in about 4 hours.

here are some prints that have been re-wetted with a spray bottle. At this point the ink is dry, the prints are just wavy and well… not flat.

The damp prints emboss quite nicely with the AP chop - so we stamp them just before loading into the drying system.

It is vital that the corrugated channels are all pointing the same way. Allowing the airflow to pass through the cardboard channels.

once you have the layers all stacked properly and placed the MDF top board on. it takes two people to strap in the clamping cross-boards. Simple 2X4s and all-thread.
the allthread only needs to be tightened finger tight as you don’t want too much pressure (that might kill your plate mark)


here the air bag (an expertly sewn canvas drop cloth) is fastened over one side of the stack (the side with the corrugated channels) and a small squirrel cage fan is used to inflate the bag. It is important not to try and drive too much air through the stack - just creating a positive and consistent air pressure across the whole stack works best.

when the fan is turned on - poof, big air bag. the airflow travels through the cardboard which through the miracle of osmosis draws all the moisture from the prints -

making them flat and ready for signing, numbering or whatever.

super fun


